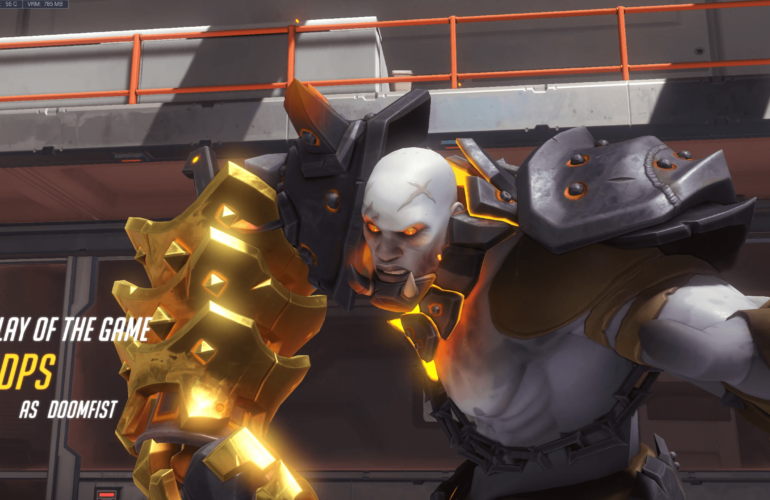
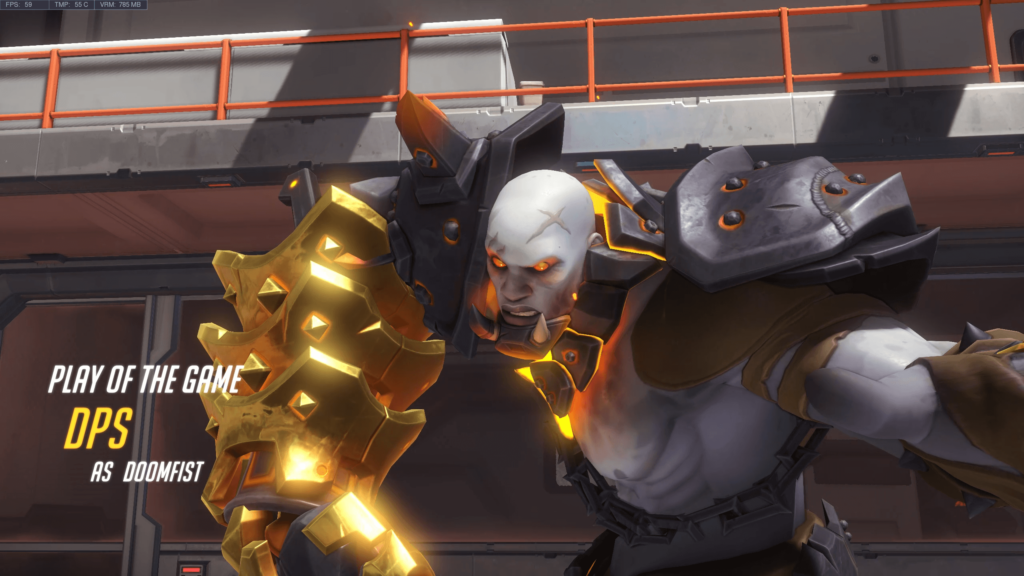
Doomfist is one of the few flanking type of DPS heroes in the game that does damages in close-range combat. As a Doomfist, you will have to flank your enemy team with surprise moves and exit the fight once you pick a kill or two. Here are some tips on how to use his abilities to combo an enemy player to death and things you need to know to be a better DF.
Stop dying trying to trade as a Doomfist
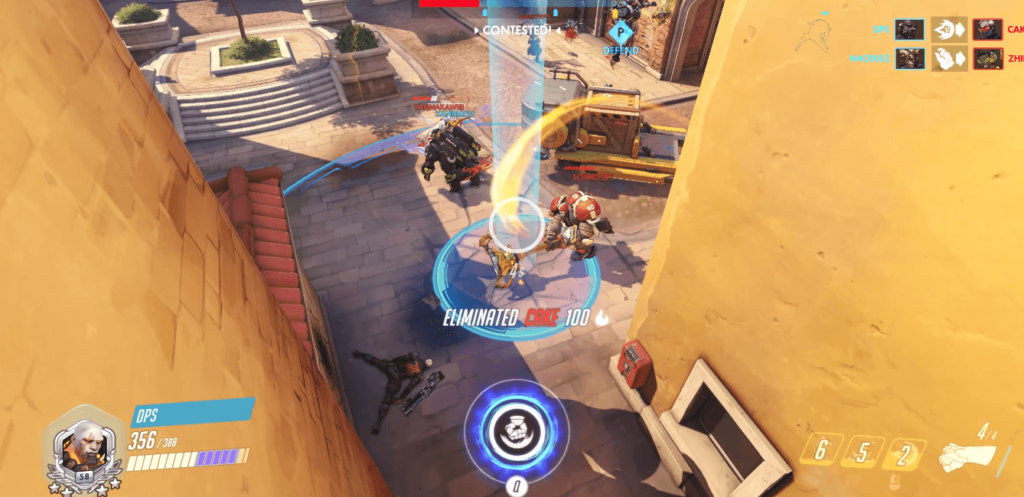
The the most important part when you flank and attempt kills using a Doomfist is to able to exit a fight without dying. Regardless if you can pick any kill or not, you have to survive and get back to your teammate to continue getting more value out of yourself. In most cases, it doesn’t worth trading 1:1 with Doomfist as your team will most likely lose more value when you die.
Sometimes, though not recommended, if you can trade two or more of them, it might worth a go. However, it’s always better to survive than trying to trade kills as you will have more chances if you are alive.
Doomfist common combos
If you are new to Doomfist and have no idea how the pros did their one shot combo with his abilities and successfully exit the fight, here’s a list of DF abilities combo that can be used to engage and exit a fight.
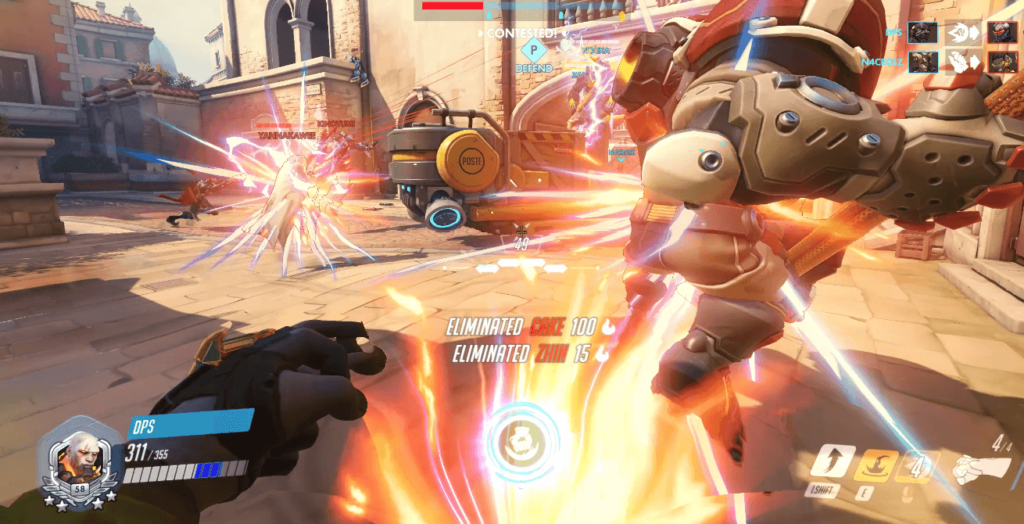
- Seismic slam (preferably from a high ground for more dmg) + left click + uppercut + left click (preferably headshot) to death, and exit with rocket punch.
- Rocket punch from a corner + left click + uppercut + left click, and seismic slam back to your team or to safety.
- Uppercut an enemy + rocket punch him to death from the air
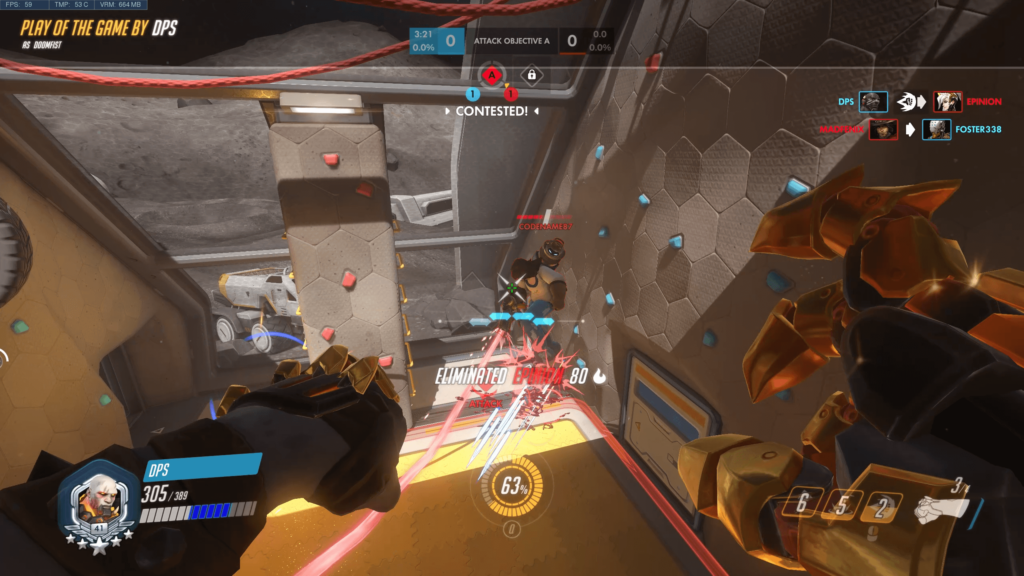
The first combo is the most common combo to engage the enemy back line and it should be able to easily kill any hero below 250 health.
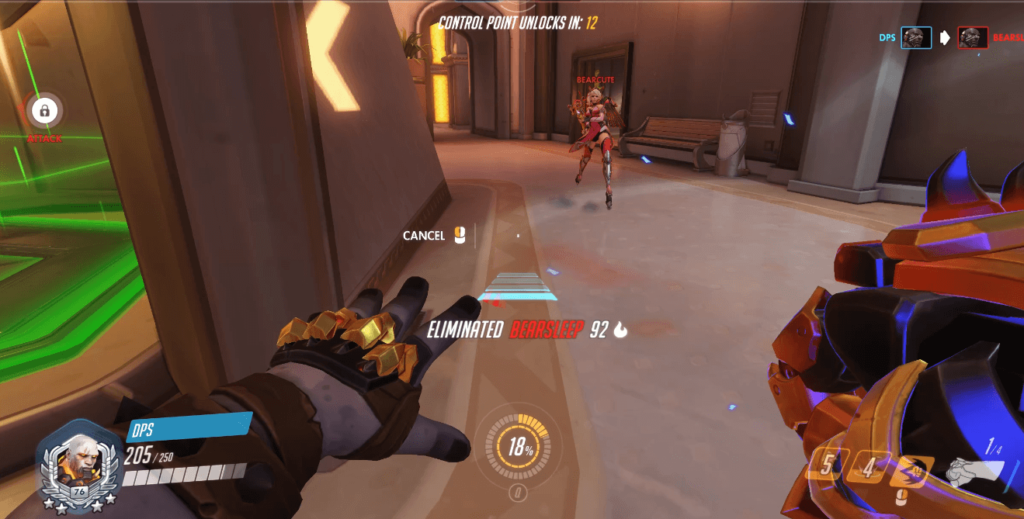
The second combo is popular in the shield meta as what we called a cannon ball if he is played this way. You rocket punch from behind your shield to the enemy front line or preferably one of the squishy ones and attempt a kill, then rising uppercut to do more damages to the enemy team and seismic slam back to your team. Keep on repeating til you pick a kill and win the fight. This is especially useful in the current shield meta where both teams need a triggering kill to turn the fight around.
One big tip I have is to always try to land a left click shot after and before you use an ability as it has some kind of animation cancel that allows you to left click very quickly without slowing down your combo. You can try it with seismic slam + left click + upper cut. You will barely see any delay at all in between the two abilities as if the left click is a free shot.
When do you use Meteor Strike?
Meteor strike is an offensive AOE ability that has a delay before you lands to deal damages on the area of effect. So, it is one of the easiest to dodge abilities and doesn’t worth the risk to use it on the pack of enemy team. As you land on your meteor strike, there will be like half a second that you can’t move, and you will most likely be dead if there is a hero with cc ability like Roadhog or Mccree around.
In fact, most pro players use it as an escape ability most of the time. If you have meteor strike ready, it means that your combo can have one extra ability for offensive purpose and exit with your meteor strike. For example, you can do the seismic slam + uppercut combo to kill an enemy player, rocket punch another to death, and use your meteor strike to get back to your team.
Summary
Similar to any other heroes in Overwatch, it takes lots of practices to get used to Doomfist abilities and to actually effectively and efficiently utilize his abilities. Doomfist is one of the hardest hero to master in Overwatch. It’s perfectly fine to do mistakes when you are new to him. Just keep playing and practice using the combos to pick kills and remember to always try to exit a fight without dying.
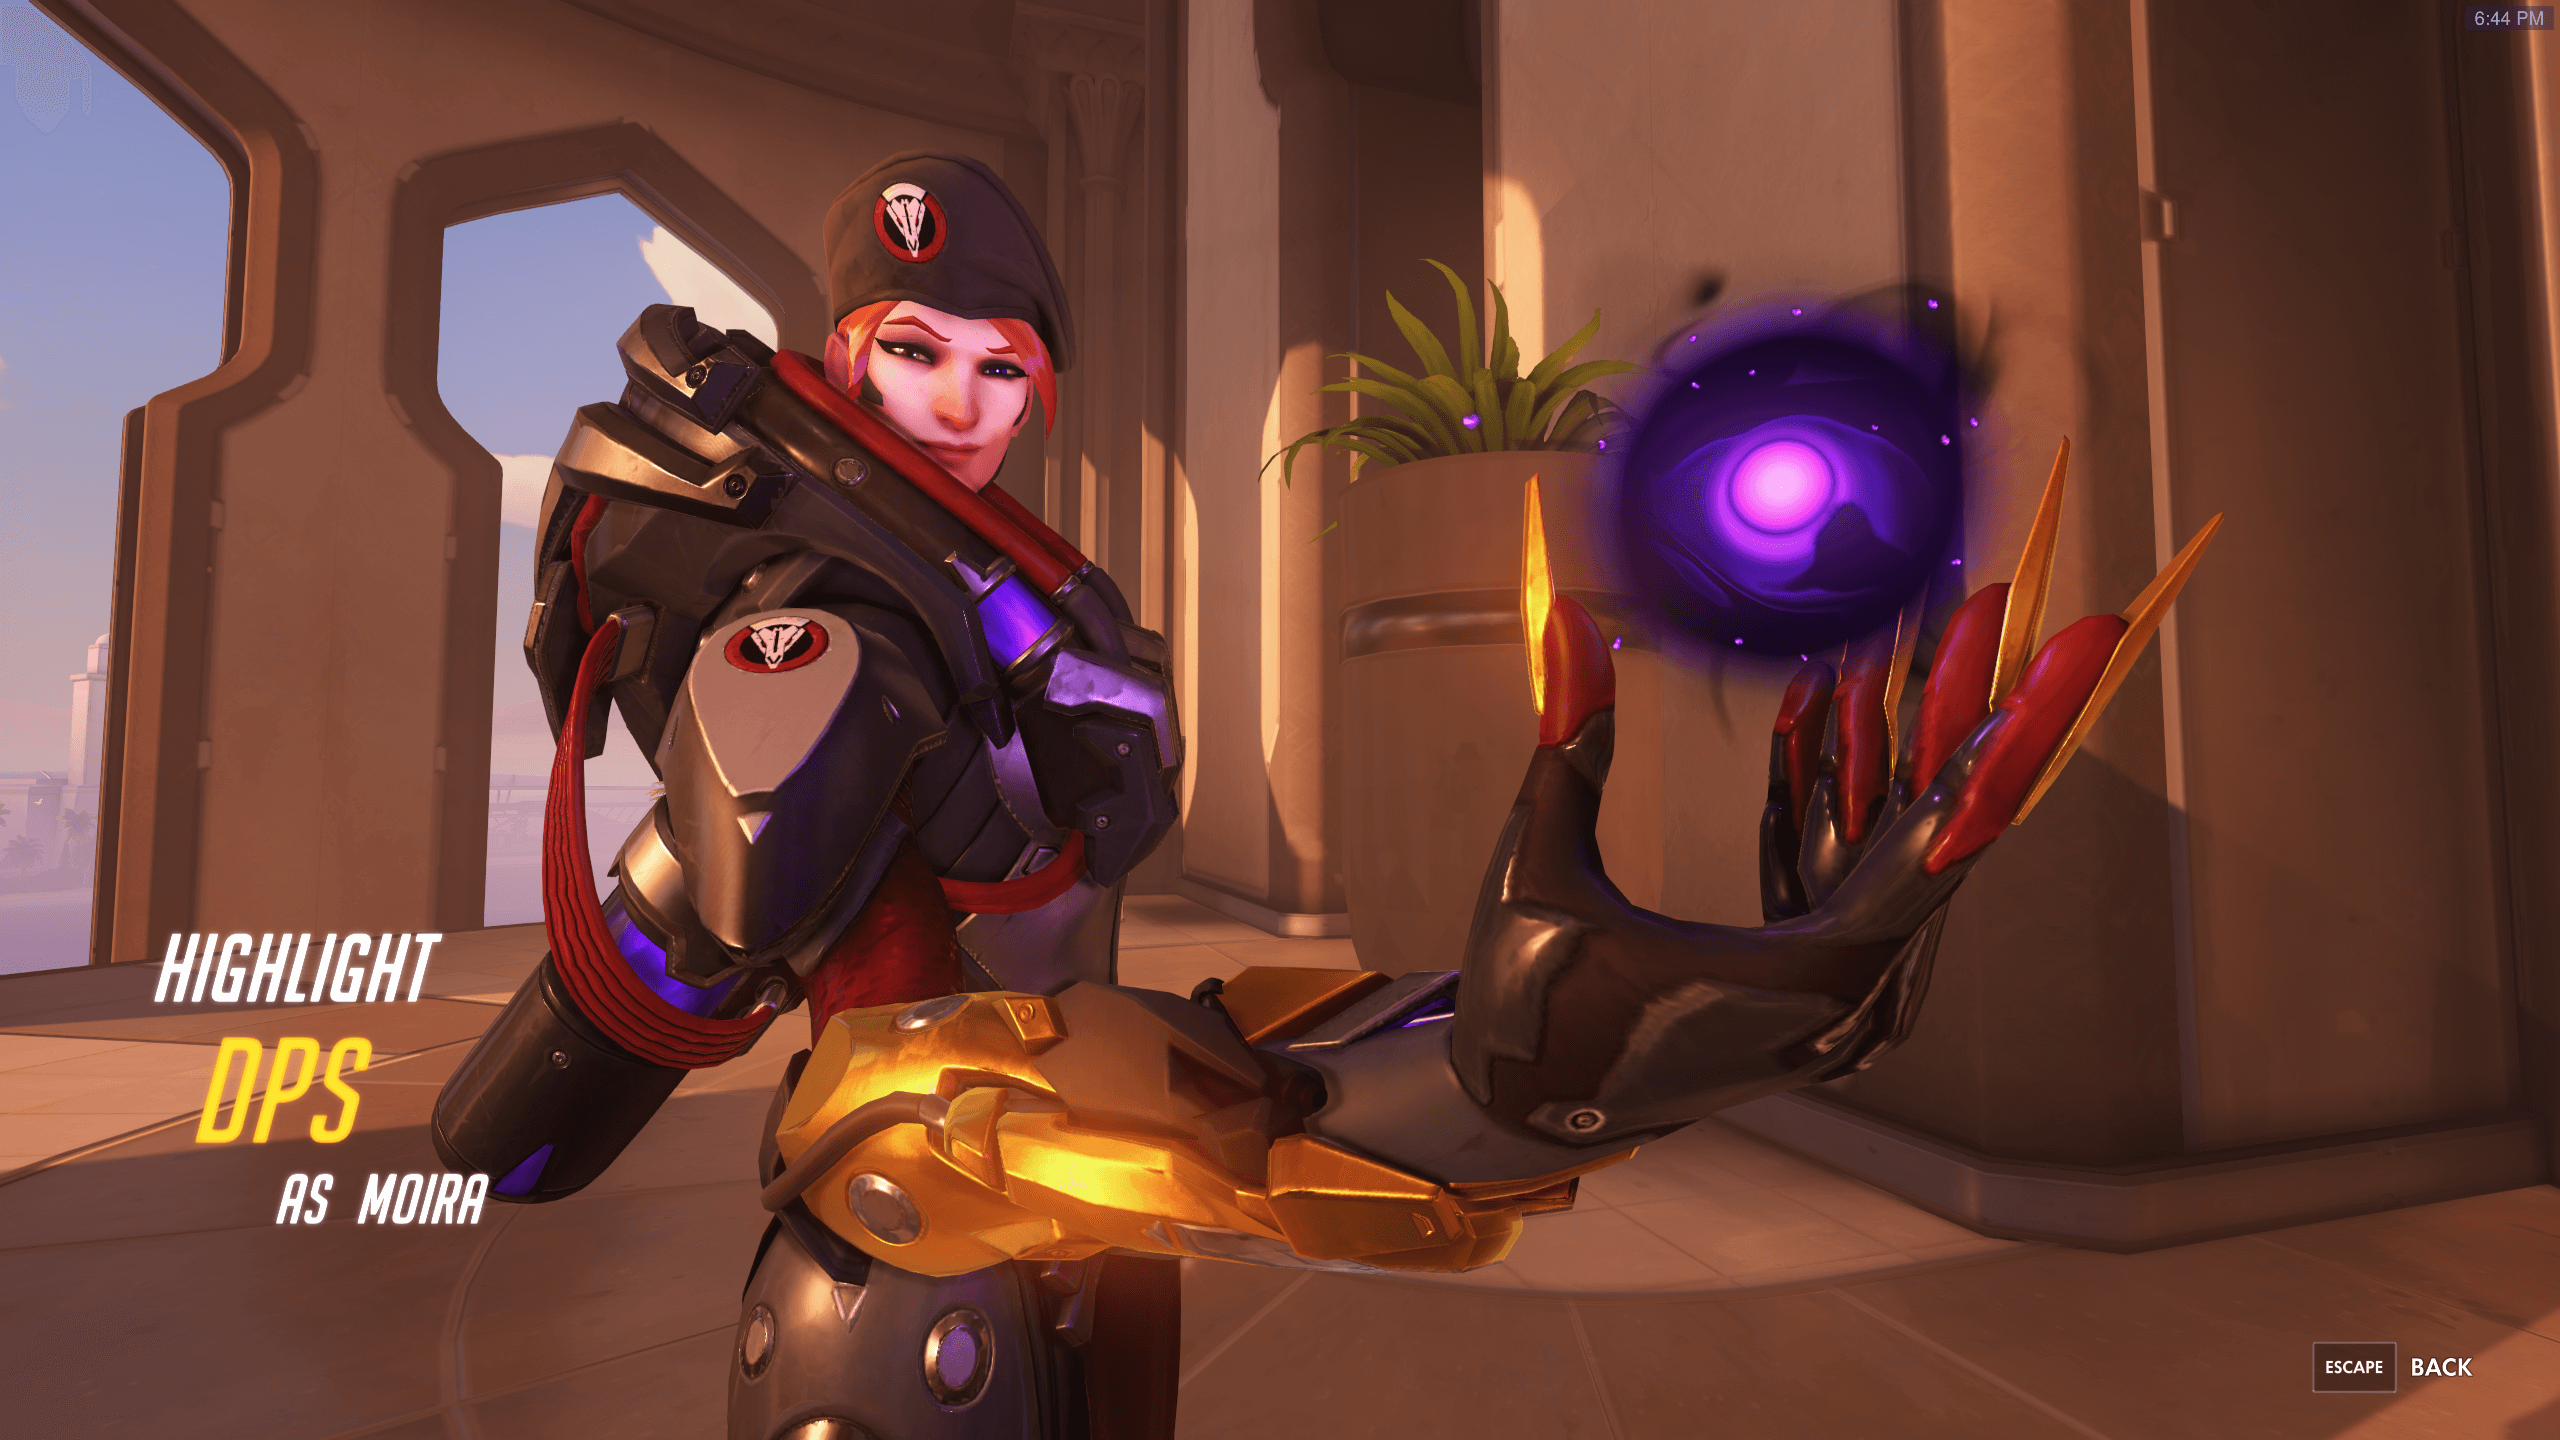
The Correct Way to Play Moira in Competitive Games
Moira is one of the few main healers in Overwatch. She has the highest pick rate in competitive matches due to her easiness to play and the huge contributions she can give to her team consistently. Below are a few tips on how to use her effectively and what to avoid in competitive plays. Moira […]
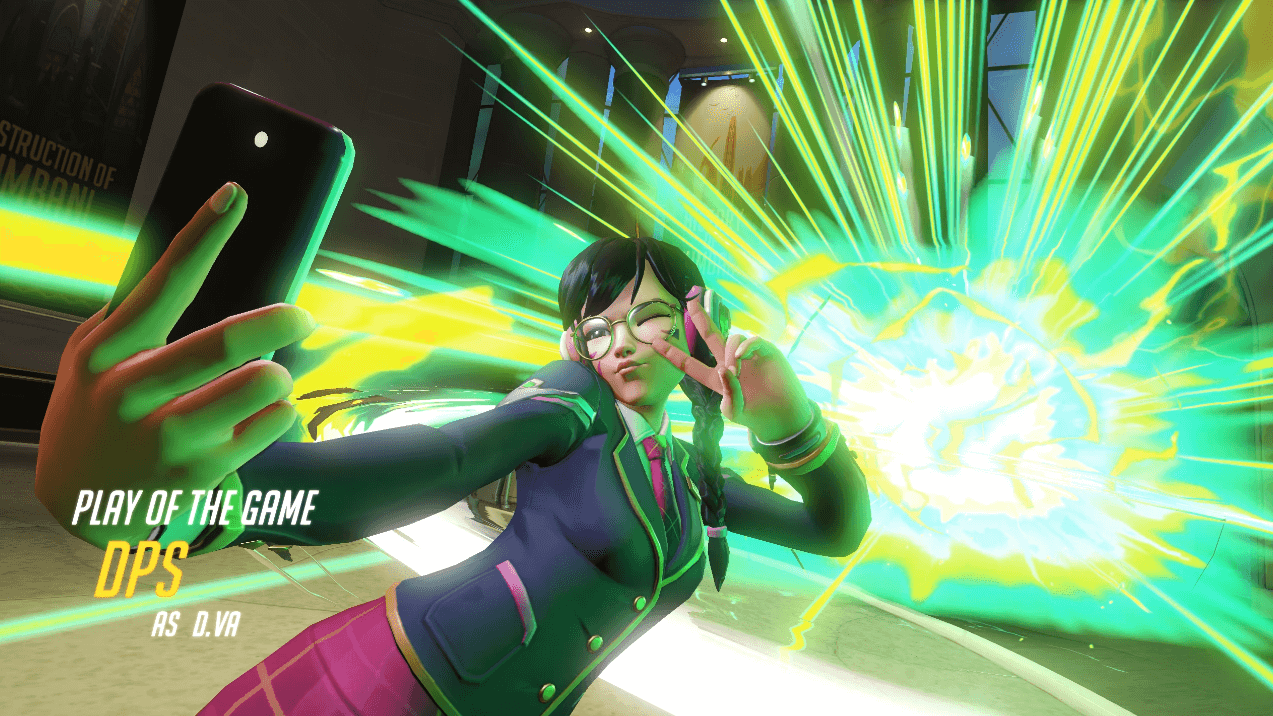
Is D.Va Still a Good Pick in Competitive Plays?
Yes, she is still very much viable in the ladder now after her matrix buff recently. During the double shield meta back then, DVa is nearly abandoned in high rank games as she is so much at a disadvantage compared to off tanks with shield like Sigma. In this guide, we will show you several […]
How to Climb as McCree in Overwatch Competitive Play
McCree, to be frank, requires good aiming and tracking skills to be effective. Tracking skill is important for all other DPS heroes but not as impactful as McCree’s. Unlike other easier DPS heroes like Reaper, as a McCree, you will need absolute accuracy to actually hit the target. Tracking skill is not the only factor […]
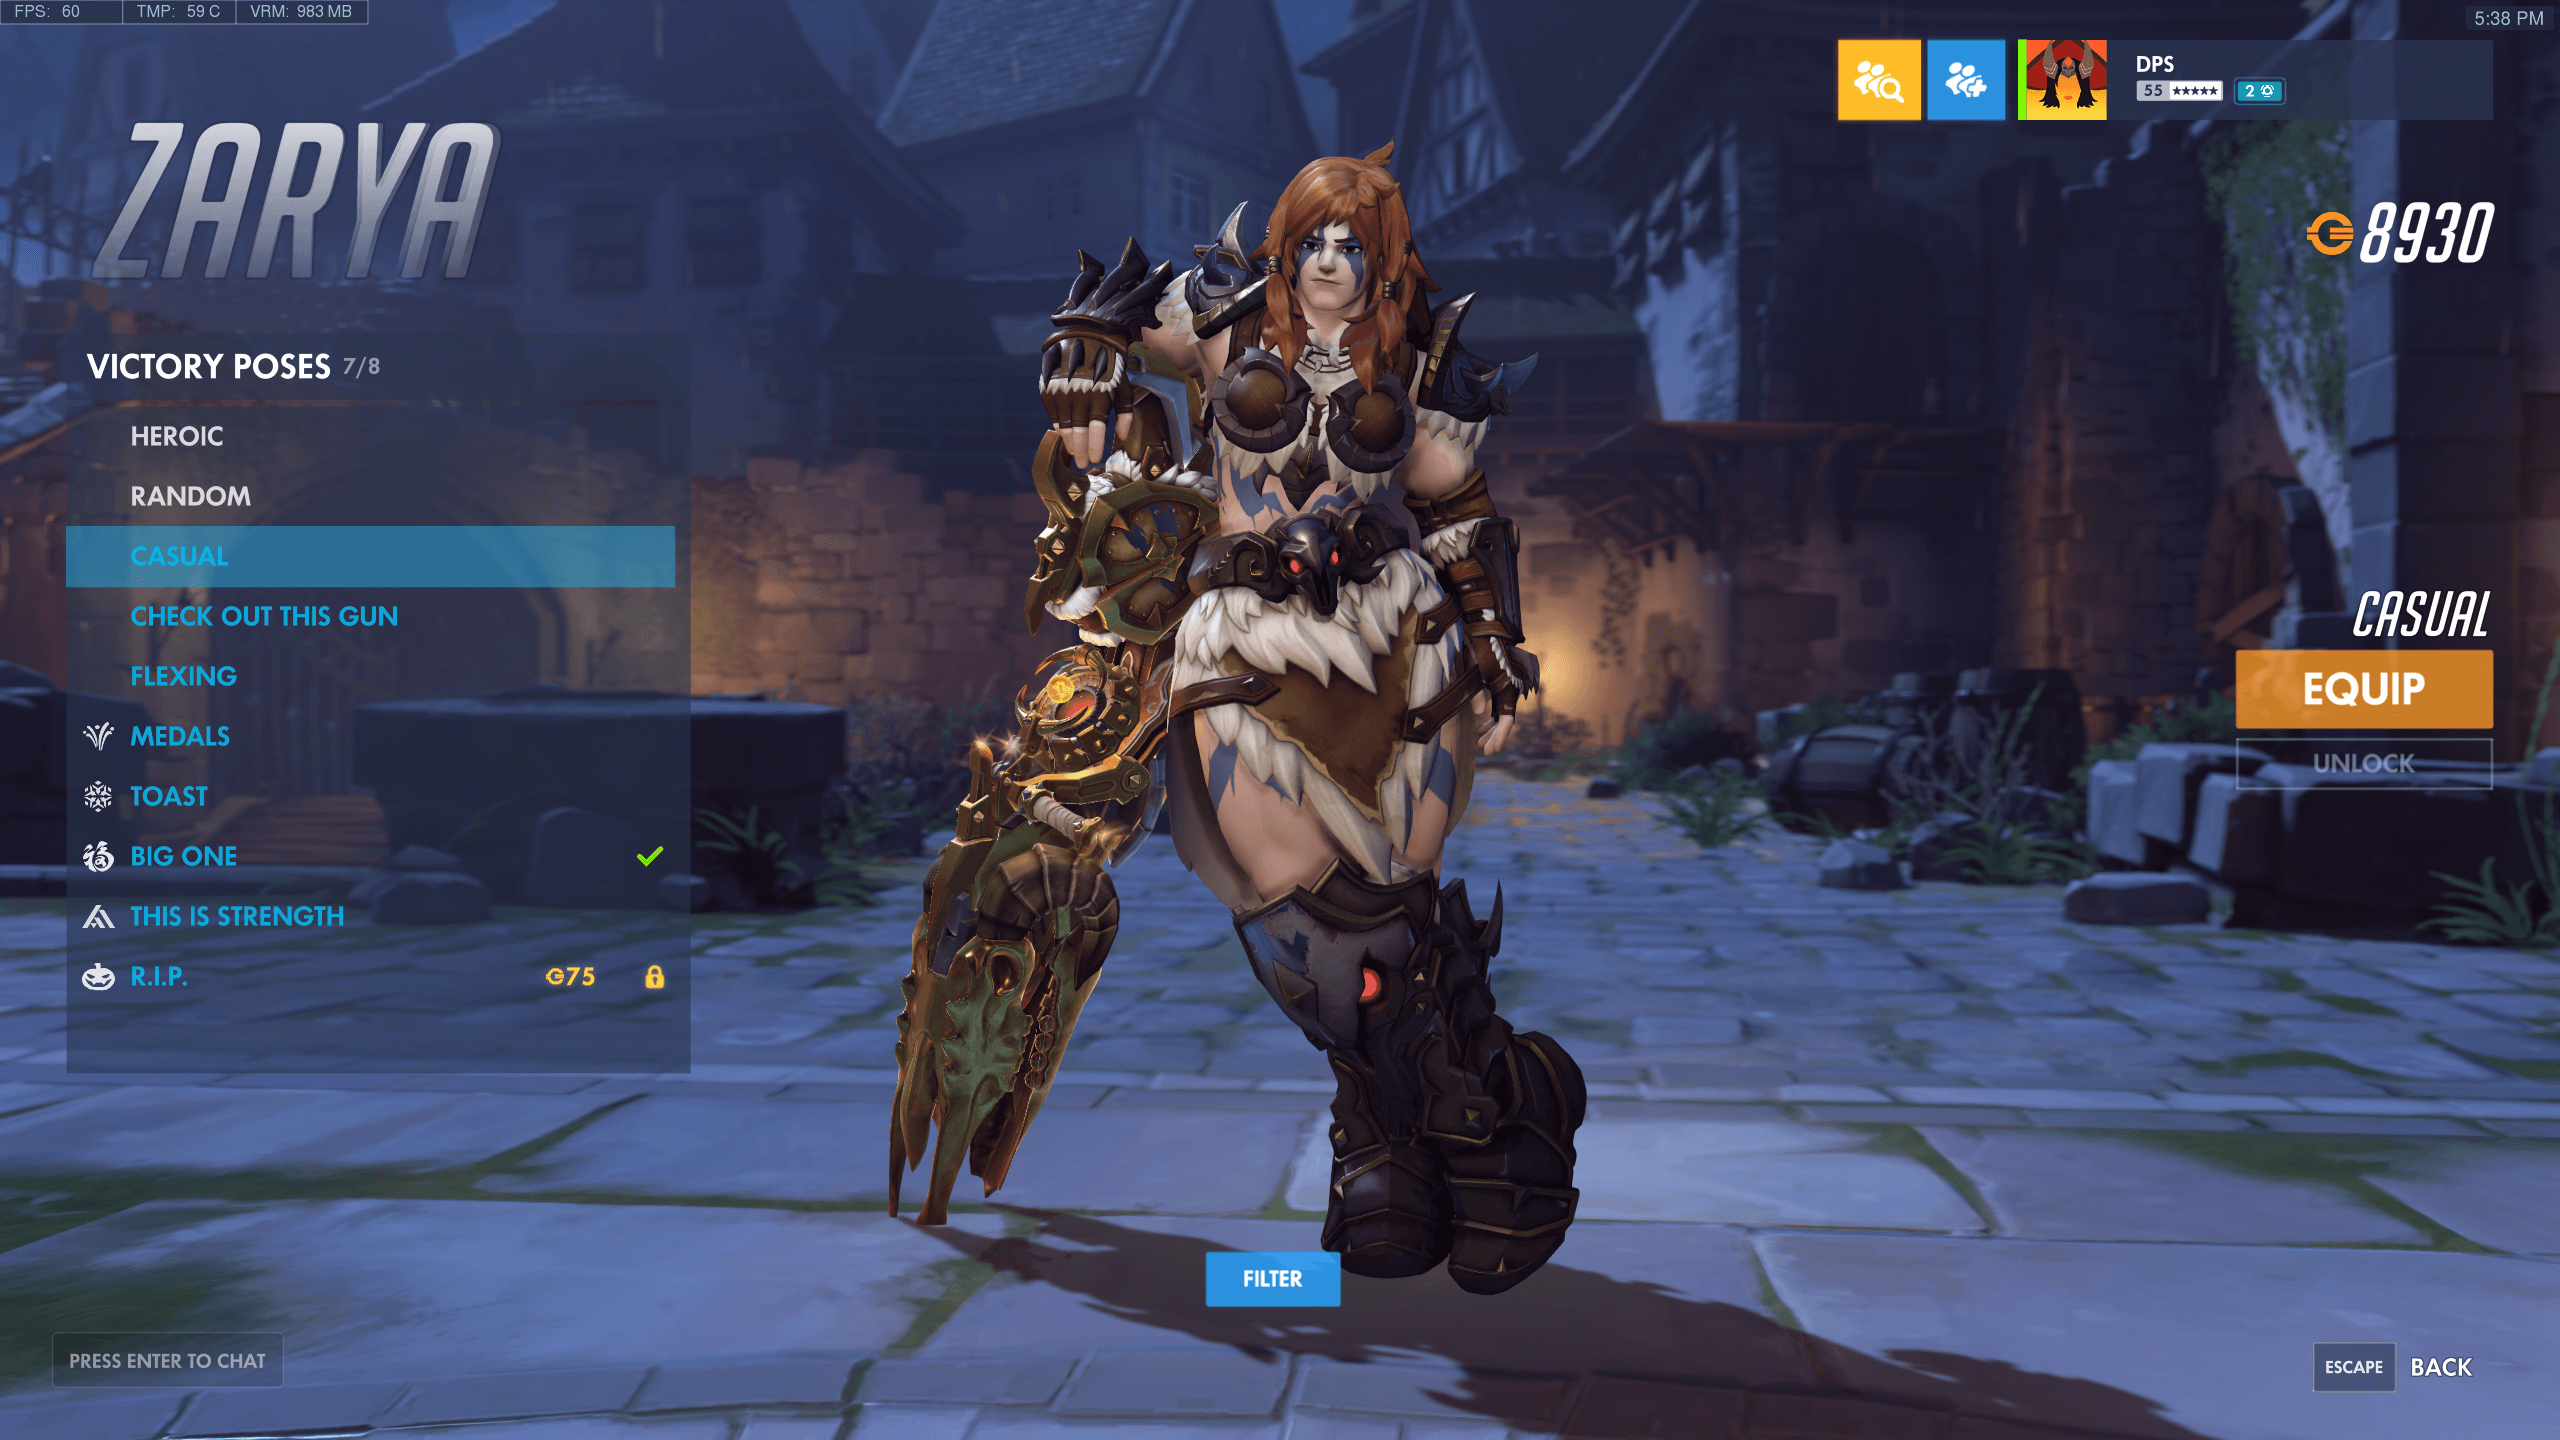
Zarya’s Role and Responsibility in Ranked Games
The hero – Zarya, is one of the few tanks in Overwatch game. Beside being a tank, you can only use her as an off tank. A decent team should consist of one main tank and one off tank to be called competitive. If you have a team with two off tanks, your team will […]
Simple Tips to Be a Better Soldier 76 in Competitive Plays
Soldier 76 is probably the most common and easiest to use hero for every beginner in Overwatch due to his similarity as a first person shooter character in other FPS games. Soldier 76 is also the starting hero everyone uses in the training mode in Overwatch. He is easy to use but not as easy […]